Evaluating in practice
Let’s us see the key components of CYF Quality that is used in the evaluation process.
Step 1
Requirements to do an evaluation on CYF Quality:
- Users allowed to do evaluations are:
- Global Monitors
- Monitors
- Managers
- Supervisors
2. You must have a publish form on the operation you are logged in, following this article: https://cyf.com/knowledge-base/creating-and-editing-scorecard/
Once the user has log into the CYF Quality he/she need to do the following:
Select the channel that the user will be doing the evaluation from.
For the purpose of this article, we will use the chat channel.
On the main menu bar go to chat

You have the option to do a “Manual Insert” or “Bulk Insert”
Let’s look and explain the difference between the two options.
Manual Insert
This option allows the user the option to manually select the agent that will be evaluated. The monitor will select a call from dialer and depending on the call select the agent who is handling the call. The monitor will then select the agent from the list of agents that are already loaded onto the system and complete all other relevant details that are required by the system. This is demonstrated in the image below.
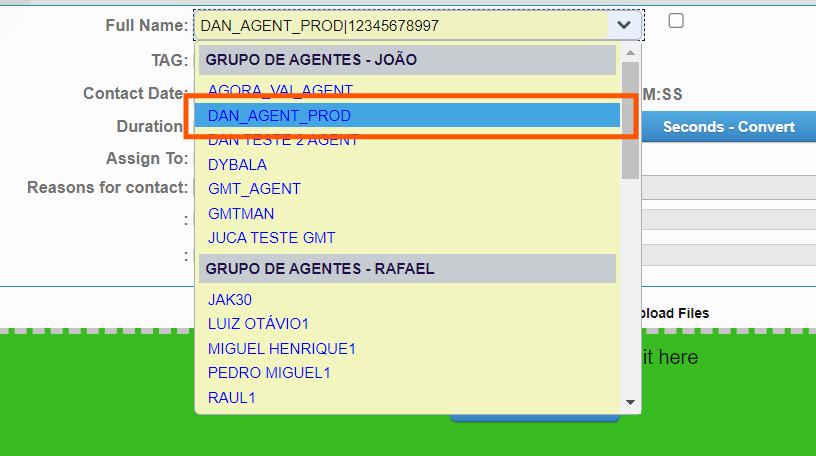
Select the agent whose contact the user has chosen from the telephony system.
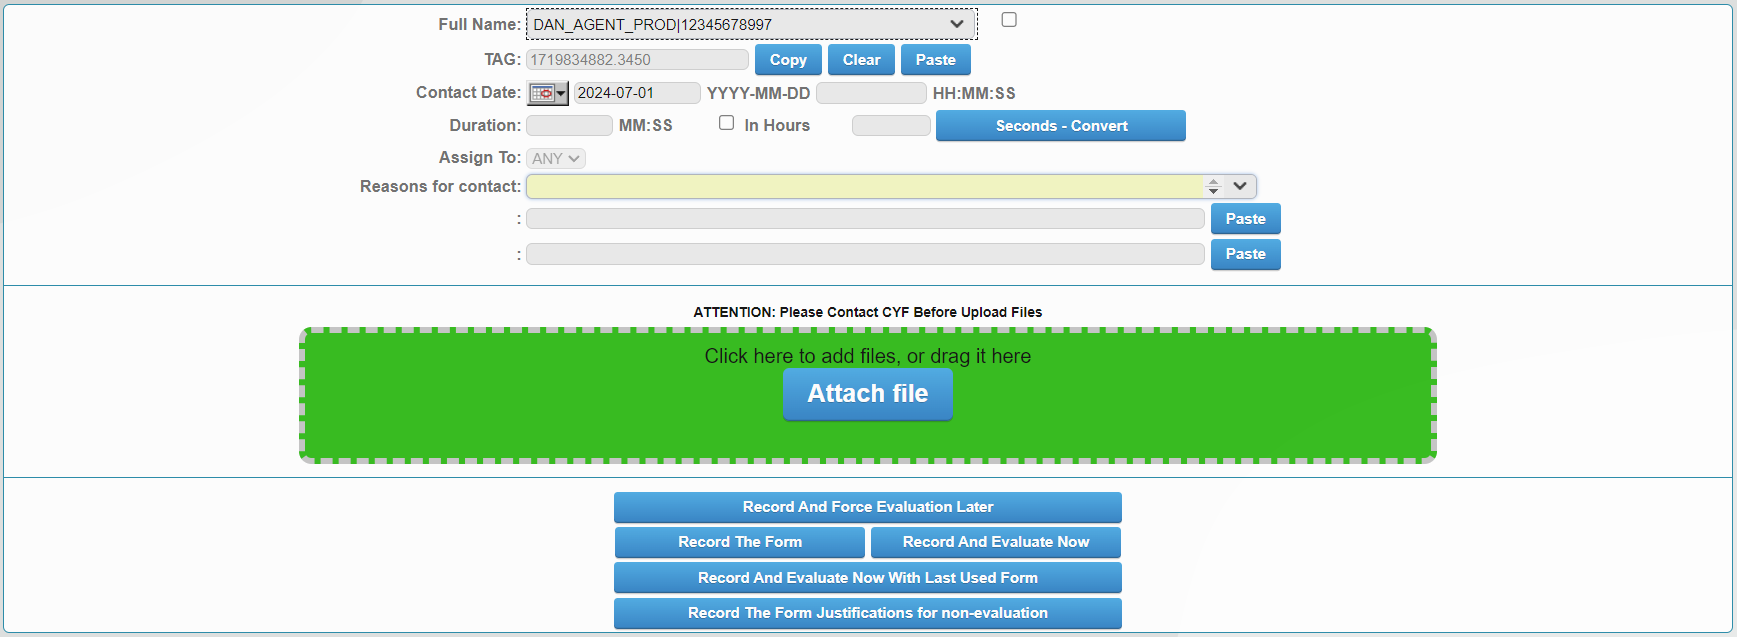
Once the agent is selected the following
Tag – here the monitor can add the calls I.D.
Contact Date: This will be the date of the call.
Duration: this will be the duration of the call
Assign to – this option can be used to assign the evaluation to another monitor,
Reason for contact – there could be lot of different reasons but an example would be: ” Caller called as they needed assistance with their password change”.
Attach file: this option allows for the user to upload a file of the following format
- Audio
- Video
- Text
Take note this option is only available on the following CYF Quality Management packages:
- CYF Lite
- CYF Pro
- CYF Premium
Once all details have been captured the user can now choose the options of when the evaluation should be done.
Bulk Insert
Let us look at how to use the “Bulk Insert” option.
Click on the bulk insert option. The user will see the following page as demonstrated below.
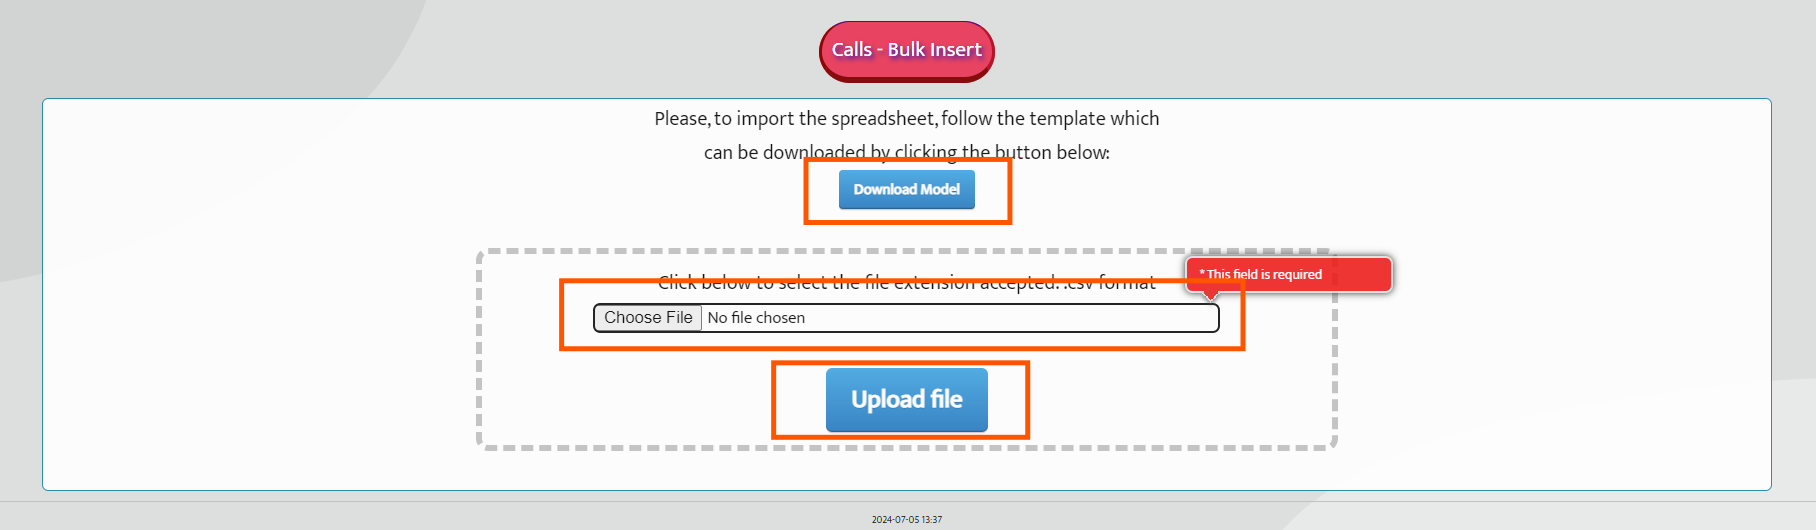
Click on “Download Model”. The system will download a Zip File to your computer. In the Zip file the user will see 2 documents, an Excel File and a Pdf manual on what to fill in on the Excel file. Extract the files to place of choice onto the computer. Below is an image of the Excel file looks.

Complete the information required as per the headings on the excel file. Once completed the user must save the file. Please not do not save the file in any other format but in csv format as it was downloaded.
Once save the user can then upload the file. click on the choose file option to get the file from where it is saved on your computer. Then upload the file.
Step 2
Record and force evaluation later – choosing this option allows the user to evaluate the agent at a later stage. The form will be available under the option “Pending to Evaluate” as seen in the images below. It will be listed under the option heading “Manually Inserted Contacts”.
 Just click on the thumbs up icon and continue with the evaluation. See image below.

Record the form – the same applies with this option. The user can evaluate the call on a later stage. This record however will reflect on a different category “Contacts – Listing” on the page Pending to Evaluate as seen in the image below.

As previously explained just click on the thumbs up icon and continue with the evaluation.
Record and evaluate now – choosing this option allows the user to evaluate the call now. The user must select a scorecard and continue the evaluation now.
Record and evaluate now with the last use form – this allows the user to evaluate the call immediately using the last form.
Record the form Justification for non-evaluation – record the form and provide justification for non-evaluation
When selected the user will get a pop up with the options to choose from as reason for justification for non-evaluation.
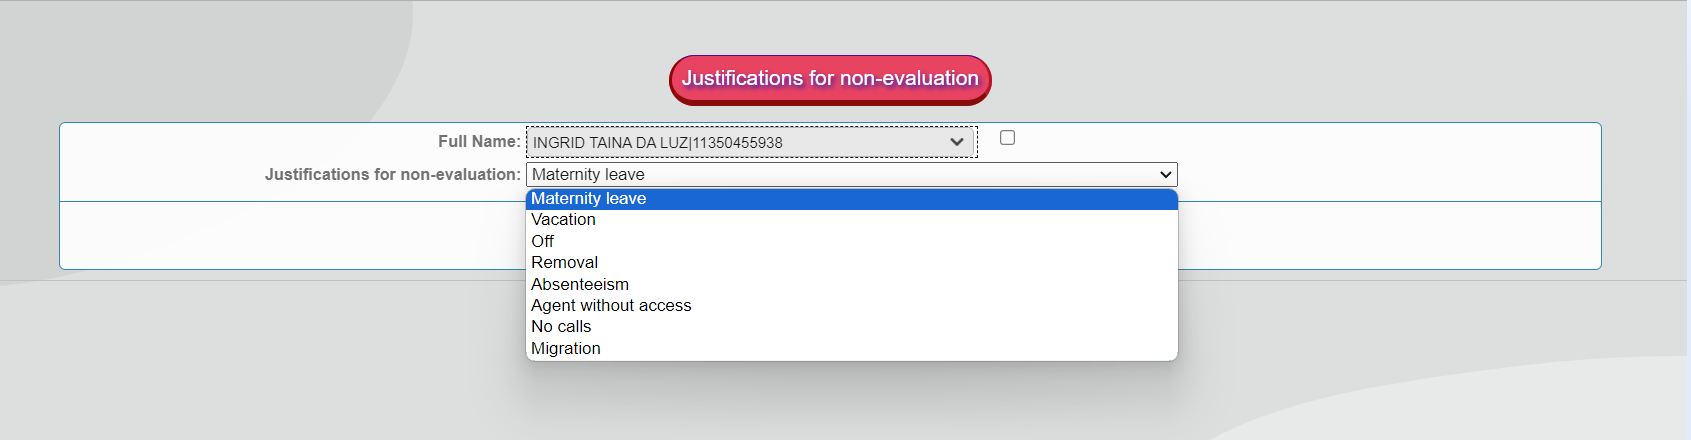
User can choose the correct outcome and continue.
The user can now start the evaluation process. Open “List All” as displayed in the previous image or use the buttons to evaluate now on manual insert page.
Once done the user can select the agent to be evaluated by clicking on the thumbs up icon.

Step 3
The user will now be directed to the forms pop up page. See image below.
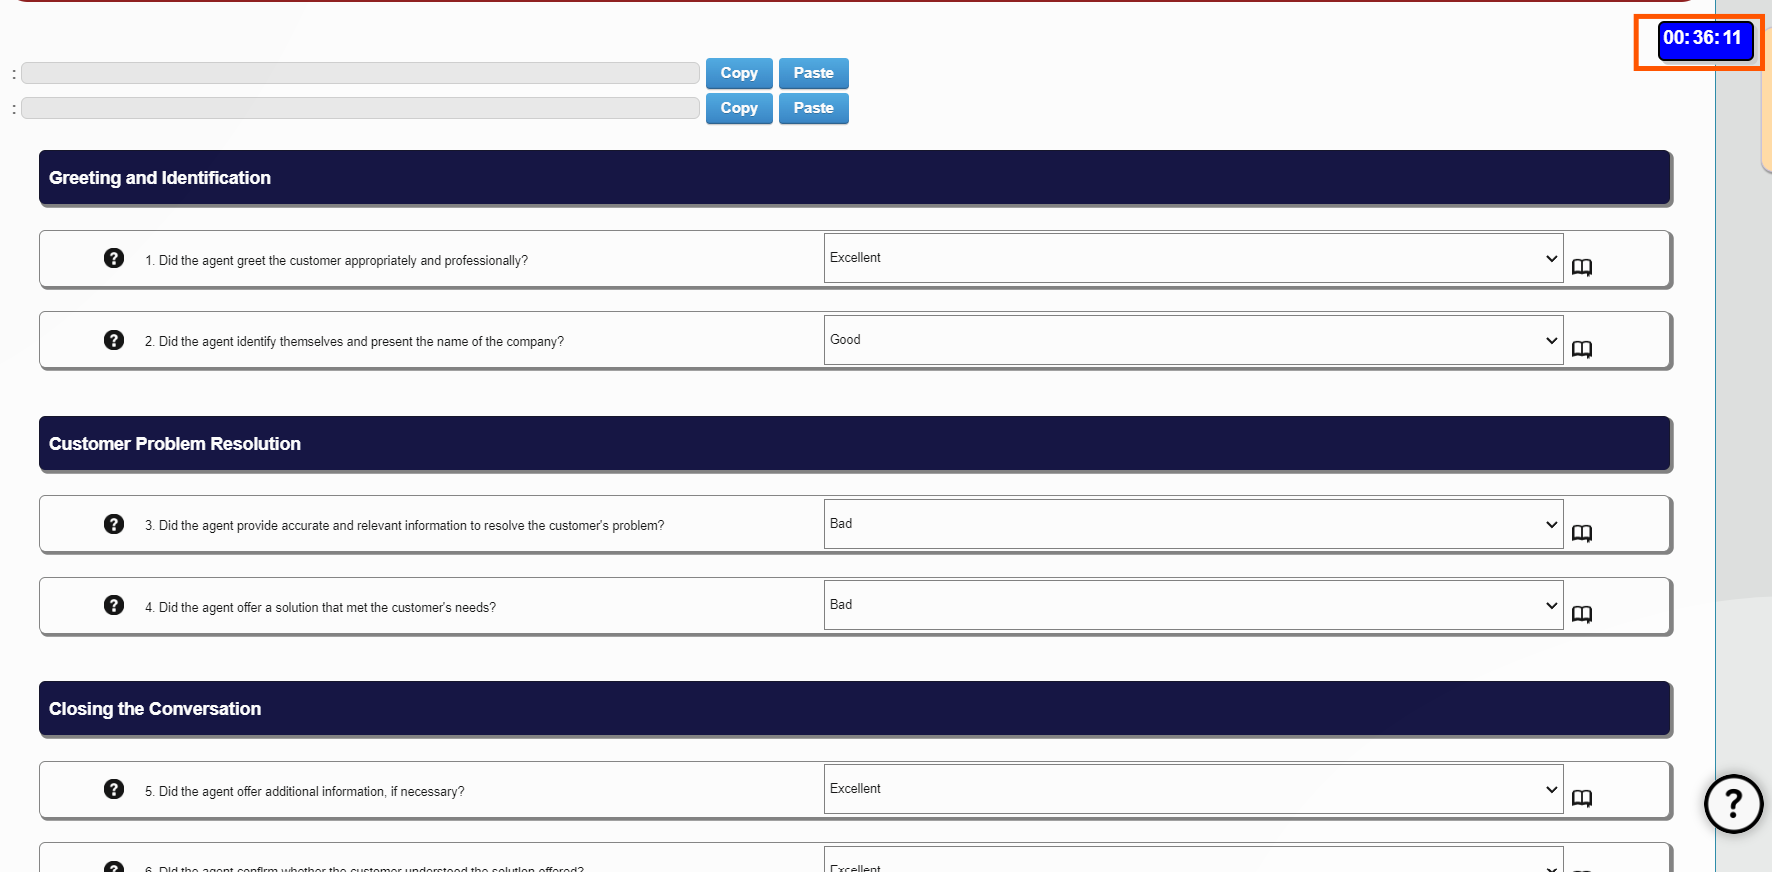
This is the form the user has selected and can now continue with evaluating the call.
Note the time tracker in the right corner on top of the image. This tracks the user time from start to finish of the evaluation process.
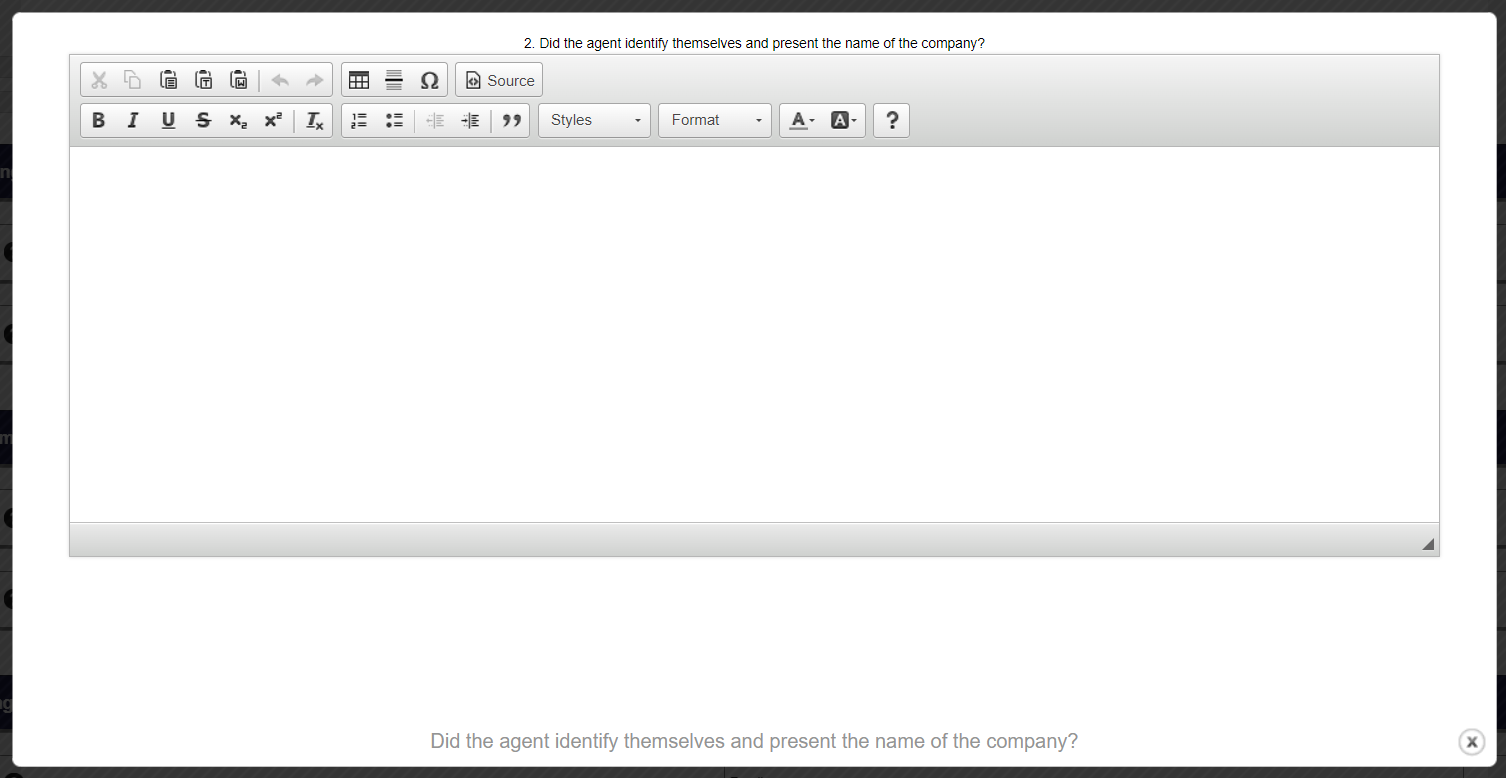
The user can also add comments as they go along by clicking on the book icon next to the outcomes. A pop up will appear in which the user can add the necessary comments as seen below.
In addition, users can check the score of the evaluation by clicking on “Check Score” icon at the bottom of the screen
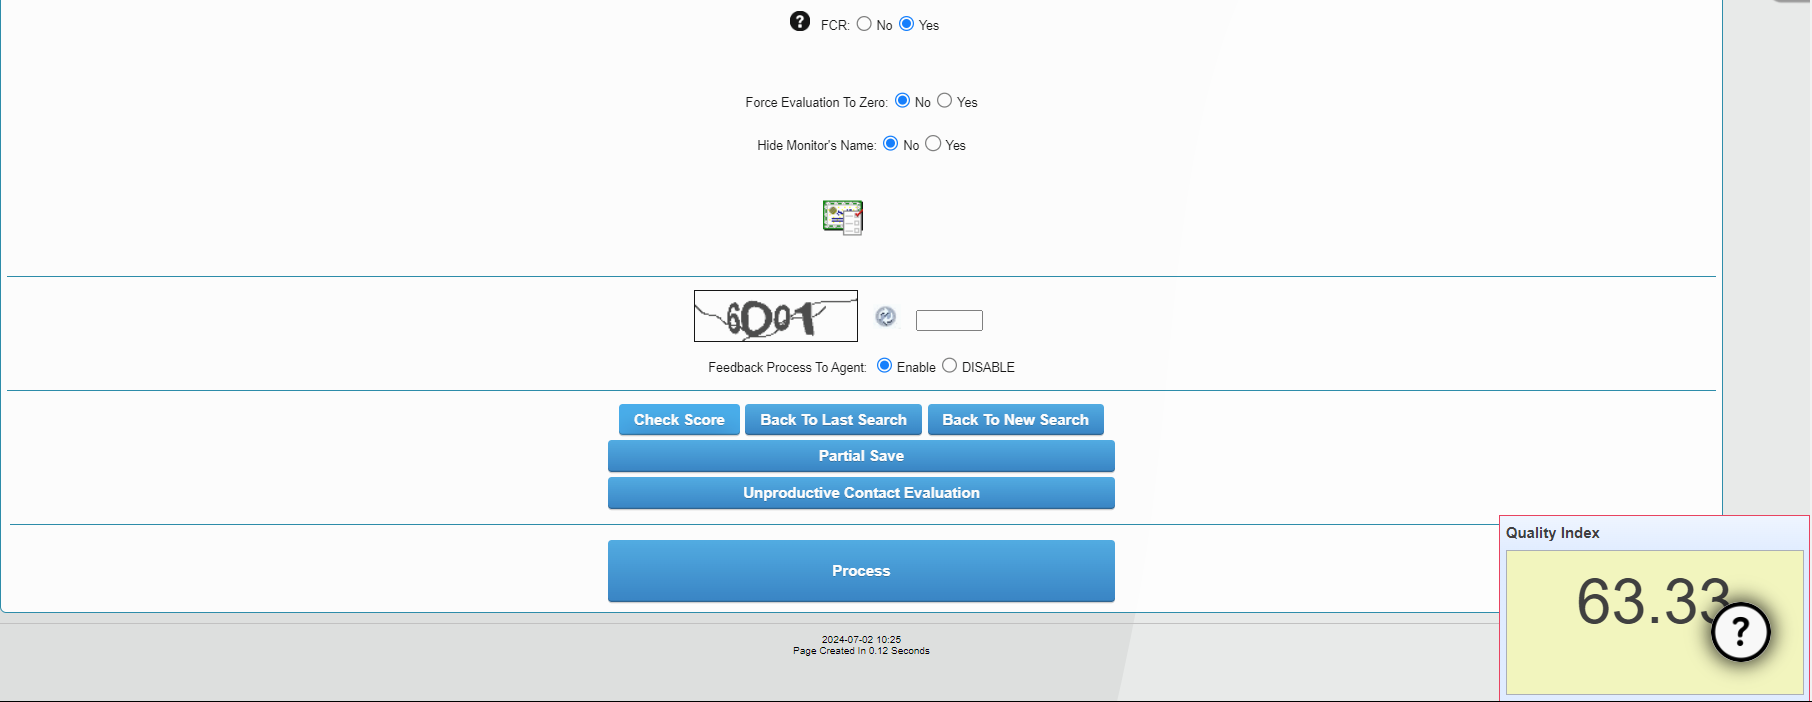
This is reflected in the bottom right corner of the screen as can be seen in this image.
- FCR – First Call Resolution was achieved on the call
- Force evaluation to zero – when using this option, the user has the ability to force the evaluation to zero
- Hide Monitors Name – This option will allow the monitor to hide the name of the person who did the evaluation from the agents report.
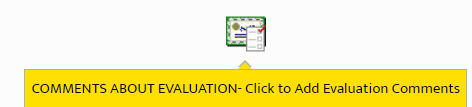
Users can click on this item and add final comments to the evaluation.
- Feedback process to agent – A process in which feedback can be provided to agnets throught the insertation of comments while conducting the QA process.
- Back to last search – takes the user back to the forms page and the user can select a different form
- Back to new search – clicking on this button will take the user back to the first screen to do a completely new search
- Partial save – This allows the user to save the evaluation at any point and can continue later where the user left off
- Unproductive Contact Evaluation – This option can be used in the event where the user chooses a contact and the contact gets interrupted and did not continue as the contact ended, then the user can choose this outcome. This will still count as a completed evaluation for the user.
Finally, if the user has completed the evaluation they can click on “Process” and this will end the evaluation process.
Should you have any questions relating to the above article please do not hesitate to contact us on support@cyf.com